| 1 |
| |
 |
|
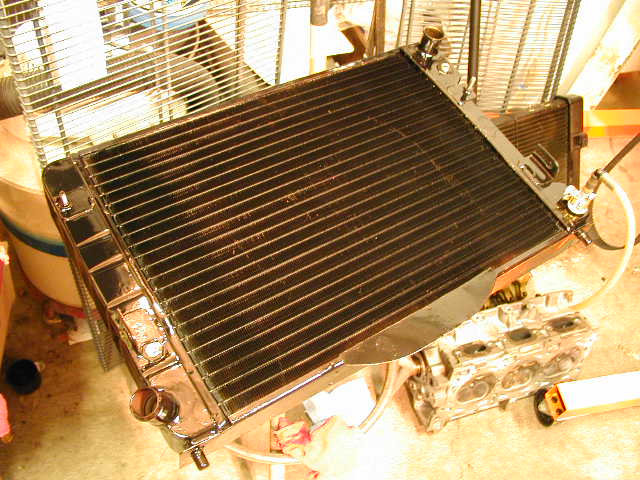
| Here is my new radiator. |
|
|
|
| 2 |
| |
 |
|
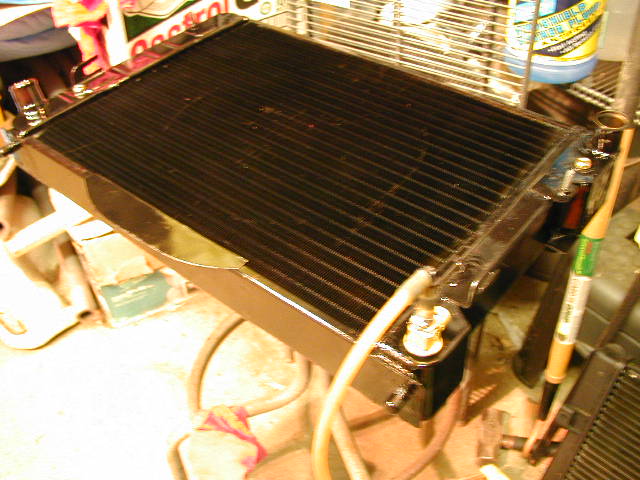
| Is about to be installed for the first time ever. |
|
|
|
| 3 |
| |
 |
|
| |
|
|
|
| 4 |
| |
 |
|
| New batter clamps get installed. |
|
|
|
| 5 |
| |
 |
|
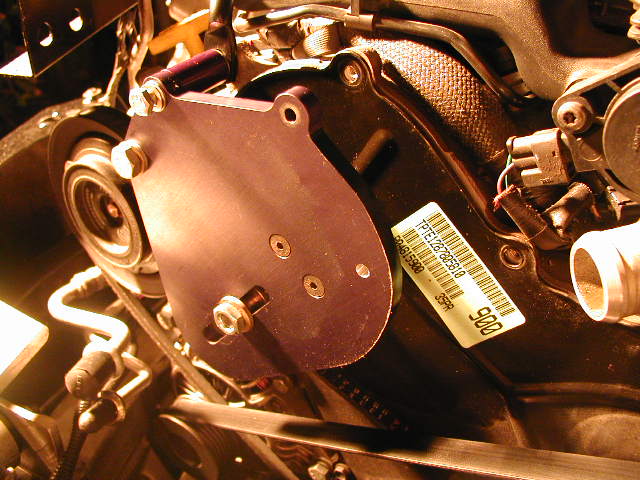
| Here you see the new finished plate. The radiator hose will no longer be pinched. |
|
|
|
| 6 |
| |
 |
|
| |
|
|
|
| 7 |
| |
 |
|
| |
|
|
|
| 8 |
| |
 |
|
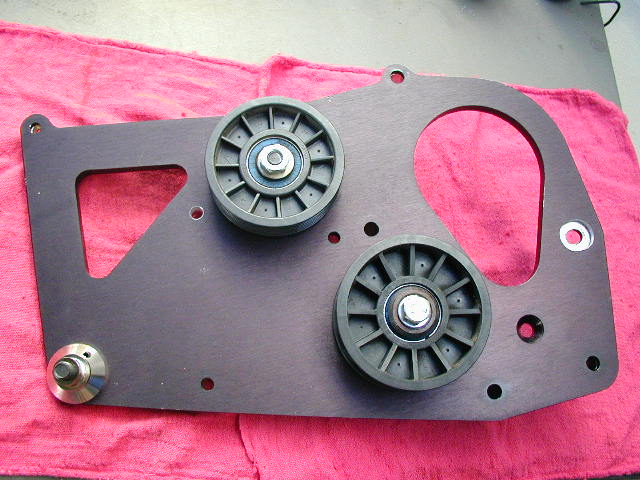
| There were some other adjustments made to the paxton kit that was not as sturdy as should be on these pullies. |
|
|
|
| 9 |
| |
 |
|
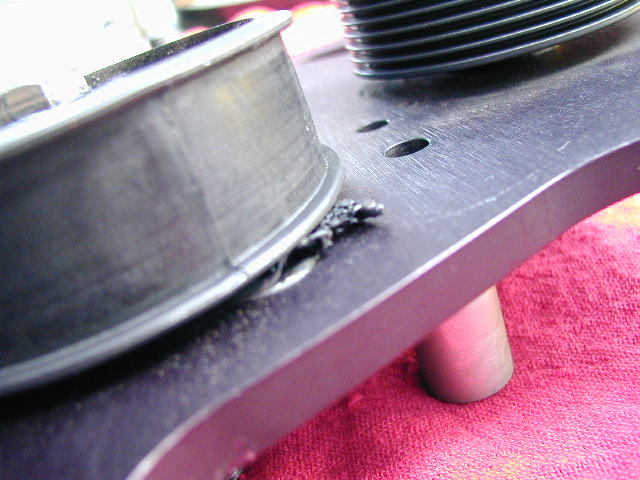
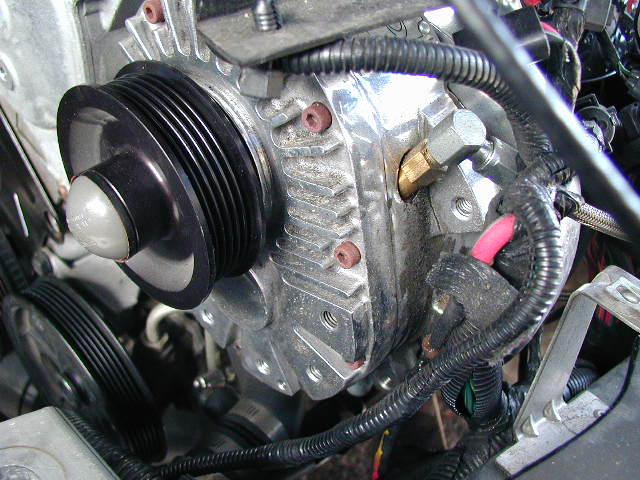
| Here you can see how one of the pulleys was scraping on the bold paxton had on their kit. |
|
|
|
| 10 |
| |
 |
|
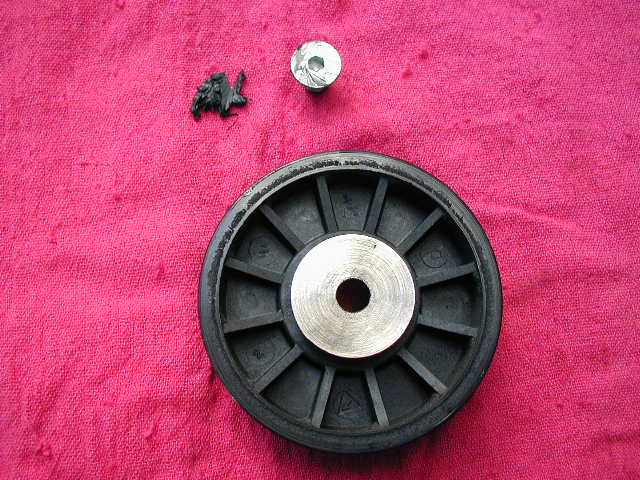
| Here you see how it was bitting into the plastic pulley wearing it down. |
|
|
|
| 11 |
| |
 |
|
| |
|
|
|
| 12 |
| |
 |
|
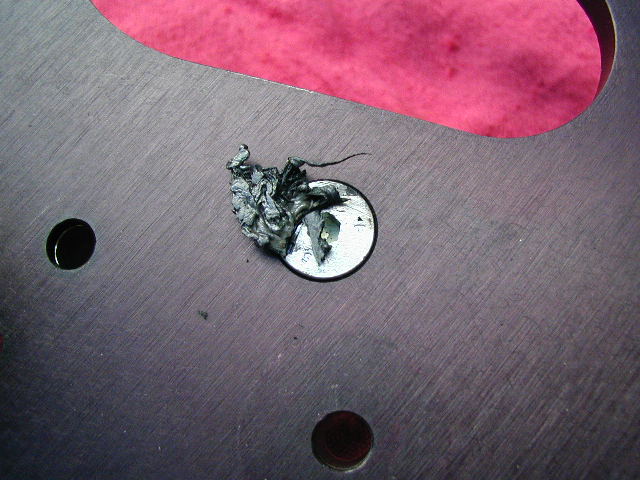
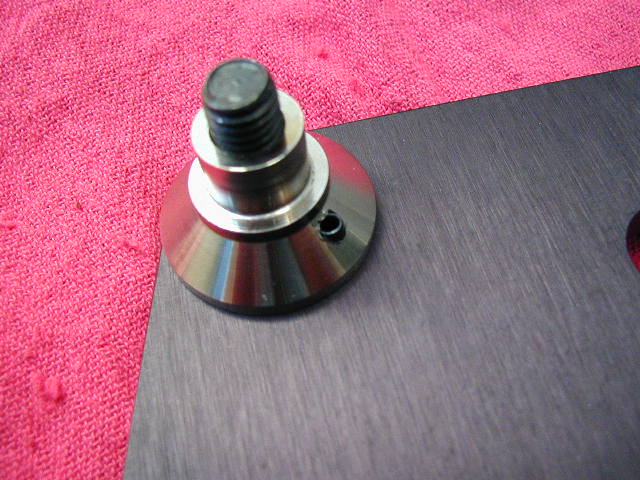
| Scott made this neat inserting on the bolt so that it will not spin on itself or come loose. |
|
|
|
| 13 |
| |
 |
|
| |
|
|
|
| 14 |
| |
 |
|
| Here is the piece that was cut off the pulley tensioner plate. |
|
|
|
| 15 |
| |
 |
|
| |
|
|
|
| 16 |
| |
 |
|
| I noticed I had some oil leakage. |
|
|
|
| 17 |
| |
 |
|
| |
|
|
|
| 18 |
| |
 |
|
| My cat is running like a champ. Thank you Scott Curtis who I call Obi-Wan ,,, That is all... |
|
|
|